
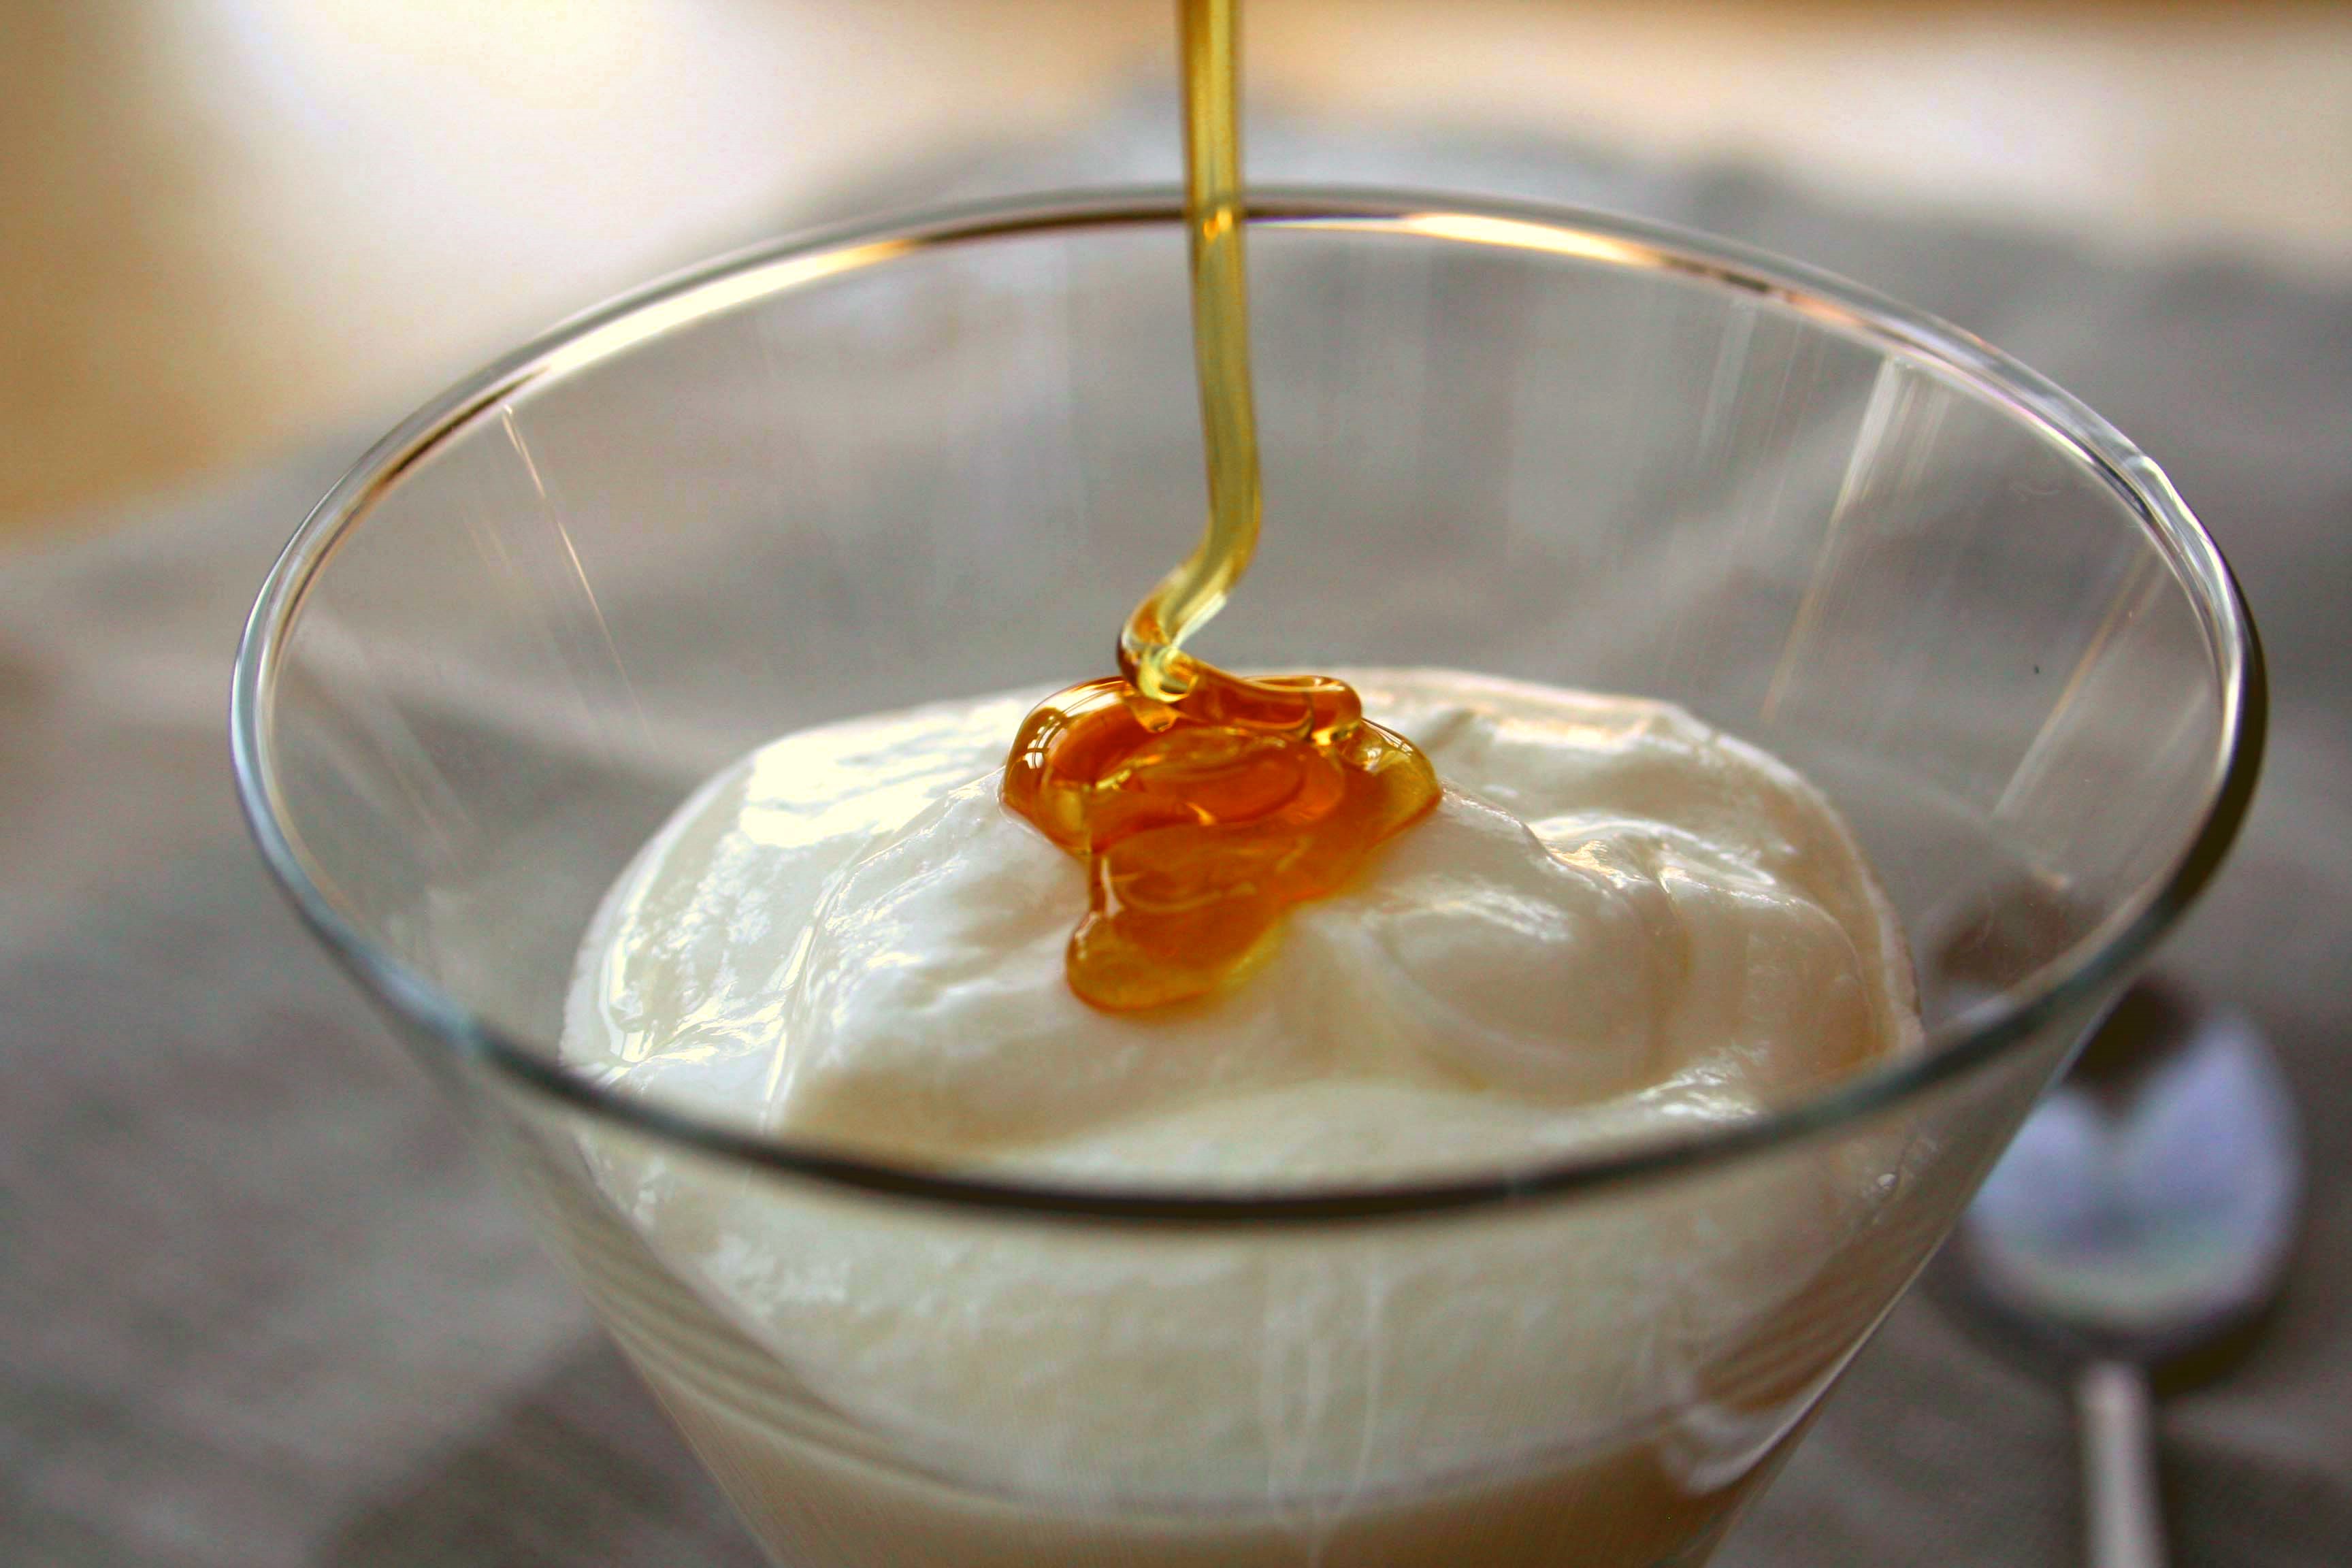
Good quality, organic, commercially made yoghurt is expensive – home-made is far cheaper, far more delicious and far, far more beneficial than anything you’ll buy – at any price.
MAKING YOGHURT
Home-made yoghurt rocks and is far cheaper, far more delicious and far more beneficial than anything you’ll buy at any price. Good quality commercial, organic probiotic yoghurt is expensive and even top-quality brands contain thickening, emulsifying and stabilising ingredients. By making your own, not only can you control what goes into it, it’s going to be spanking fresh and will contain the beneficial microbes present in your unique environment.
Most commonly, yoghurt is made with a thermophilic (heat loving) culture which contains the beneficial bacteria:
- lactobacillus bulgaricus
- streptococcus thermophilus.You can find more information on yoghurt starters online.Using raw milk: If you want to make a true raw milk yoghurt, you’ll need a mesophillic starter (works at room temperature). Because the milk is not heated, it retains all the beneficial nutrients. The proteins also remain intact, resulting in a much thinner yoghurt – more like a thick drinking yoghurt and great to use in smoothies.
Heating raw milk denatures (changes) the milk proteins somewhat, but it yields a thicker, set yoghurt. Although heating impacts its nutritional value, gently heating raw milk to around 85 – 95°F is a far less damaging process than the methods that are used by industrial dairy processors to ‘manufacture’ yoghurt. So, whichever method you choose, it’s still well worth starting with raw milk.
Using pasteurised milk: By culturing organic pasteurised milk with a thermophilic starter (heat loving) you can restore some of the valuable nutrients and probiotics. If you’re using pasteurised milk, please cast your mind back to the Milk chapter and do your health a big favour by choosing organic full-fat, non-homogenised, pasture-fed milk.
TO MAKE YOGHURT
This recipe yields about 600ml of gorgeous, creamy, mild yoghurt.
What you’ll need:
Organic whole (full-fat) milk: 800 ml
Organic, full-fat, natural ‘live’ yoghurt: 2-3 tbsp (e.g. Duchy or Yeo Valley) A food thermometer (recommended)
What to do:
- In a heavy-based, or non-stick saucepan, slowly heat the milk until it reaches 85 C̊ . If you haven’t got a food thermometer (get one!), stop heating the milk at the stage when it’s simmering (just ‘fizzing’ but not actually bubbling, or boiling). Keep it ‘fizzing’ for 2-3 minutes. This step inhibits enzymes that retard subsequent fermentation.
- If you’re using good quality whole milk, a creamy skin will form on top; no worries – just whisk it into the milk. Take the pan off the heat and let the milk cool to around 43 C̊ .
- Note that the window of proper fermentation is between 42-44 C̊ ; any higher and the lactobacillus will be destroyed and the milk won’t culture or set. As the temperature is raised up to 44 C̊ , the rate of culture metabolism is higher, and the yoghurt is sweeter. Faster growth also prompts the yogurt to set faster.
- When the milk has cooled (around 15 minutes) stir well and test the temperature. If you haven’t got a food thermometer, put a very clean pinkie finger into the milk. If the milk has cooled enough for you to be able to keep your finger in it comfortably, it should be at the right temperature.
- Put the plain yoghurt into a small bowl and add enough cooled milk to make a thin liquid. Add this mixture to the remainder of the milk and stir it in thoroughly.
- Pour the mixture into spotlessly clean lidded glass containers (jars, a bowl, or a jug). Cover and leave the mixture to incubate in a warm place for at least 8 hours (or overnight).
- You can use the oven on the ‘defrost’ setting, or set to 30-35 C̊ . Or, use a cooler box in which you’ve placed two jars of freshly boiled water to raise the temperature. (I make my yoghurt in the evening and leave it in the oven overnight).
- When set, allow to cool to room temperature and then refrigerate. It will keep well for at least a week.
- To make the next batch of yoghurt, always keep back 2-3 tbsp from your present batch to ‘inoculate’ the new batch.
TO MAKE LABNEH
For an utterly sublime and healthy middle-eastern experience, simply strain yoghurt in a muslin- lined sieve to make a delicious soft creamy ‘yoghurt-cheese’ and season it to create a variety of delicious savoury and sweet spreads/dips/pâtés and toppings. Or you can preserve it in a good quality olive oil.
You can use either home-made or shop-bought yoghurt to make labneh. Be aware that home- made yoghurt is often less dense than its commercially-made cousin, so when strained, it will yield less solid matter and more whey.
What you’ll need:
500ml of cold, fresh, full-fat yoghurt A sieve A piece of muslin/clean hanky
A bowl
What to do:
- Line the clean sieve with a clean piece of muslin and set it over a small bowl. Tip the cold yoghurt into the sieve and cover.
- Leave it to drain for several hours or overnight – the pale liquid that drains from the yoghurt is the ‘whey’. The longer the yoghurt drips, the firmer the labneh will be. (If the weather is very warm, leave it to drain in the fridge).
- Labneh will keep for at least a week in the fridge – just take out what you need and season or flavour it to taste!
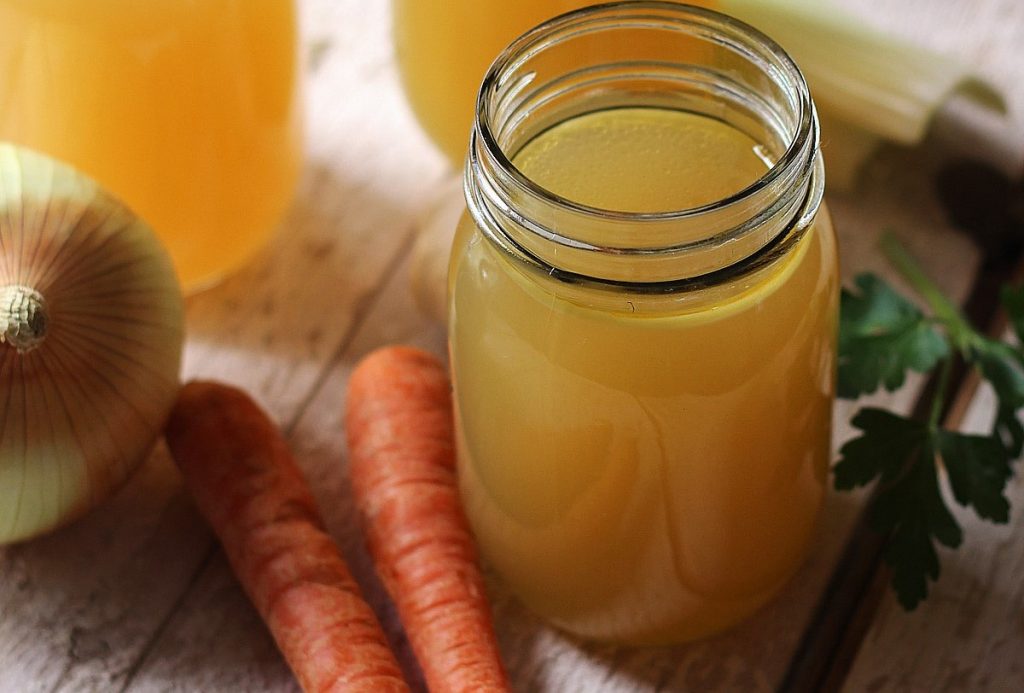
- By the ‘whey’…. don’t waste the whey – it’s probiotic and protein-rich, helps digestion and contains trace minerals. You can use it in several ways:
- Add whey to your vegetable ferments to ‘kick-start’ the lacto-fermentation process
- Whey can be added to your smoothies or soups, stirred into a home-made curry, casserole, or a thick stew to loosen the gravy – it lends a silky texture
- You can make whey ice cubes for adding to cold drinks, or for using as above.TO MAKE KEFIRMaking kefir is super easy! Simply put the kefir grains into milk, stir, wait overnight, strain, drink! However, there are as many subtle differences in the methods of various kefir-making as there are people making it – my method is really simple.
Kefir has thinner consistency than yoghurt. If you want a thicker kefir, refrigerate the unstrained grains in the milk for up to two days; the grains will continue to ferment, but at a slower rate.
You’ll read many sources that caution never use any metal implements with kefir. I have used both a metallic and a nylon mesh strainer and have never had a problem, but always use a glass jar to make and store it.
What you’ll need:
Live kefir grains*: 1-2 tbsp (1 tbsp of grains per 500ml milk) Organic full-fat milk: 500ml – 1lt (raw, or non-homogenised) Lidded glass jar: large enough for the milk + 5cm ‘head-room’
*You can buy live kefir grains online.
What to do:
- Put the kefir grains into a thoroughly clean glass jar (JAR 1) and pour over the milk. Cover loosely with the lid.
- Leave the jar on the counter for at least 24 and up to 48 hours. During this time the grains may rise to the top of the jar (they’re loving the cream!) or the kefir may separate into curds and whey. All this is normal – give it a stir (with a wooden or nylon spoon) and continue fermenting until you like the flavour and thickness.
- Strain the kefir into a clean jar (JAR 2) or jug, through a fine mesh strainer and refrigerate until needed.
- If you want to make another batch of kefir right away: Rinse out JAR 1 and put the grains back into it and repeat the process.
- If you don’t want to make another batch just yet: Rinse our JAR 1, put the grains back into it and add enough water (not tap) to cover them by 5-6cm.
- Refrigerate for up to a week before ‘feeding’ them again.
To ferment Kefir for a second time…
Fermenting kefir for a second time with flavourings produces a much mellower flavour by removing some of the sharp acidity. It also improves the kefir’s bacterial content and reduces its lactose content.
A second fermentation period can range from six to 12 hours, depending on the temperature of your home and your taste preference – just keep it going until you like the taste!
You could try:
- Organic orange or other juices
- Vanilla with ground cinnamon
- Organic cocoa powder
- Organic citrus fruit peels
- Pumpkin pie spice
- Chopped fruit
- Garlic or onion for a savoury kefir dip or salad dressingUse flavour additions that you can easily remove (citrus peels rather than zest, for example) from the kefir when the second fermentation period is complete – fruit juices, ground spices or cocoa powder obviously won’t need to be removed.Note that fruit additives are likely to make the kefir more carbonated. If you prefer not to have effervescent kefir, wait until after the kefir has been fermented a second time before adding them.


Leave A Comment